
Heating and cooling account for roughly 43% of the average American household’s energy consumption. When the mercury drops, your furnace works overtime to maintain a comfortable temperature; however, much of that expensive heat likely escapes through cracks you cannot see and gaps you haven’t noticed. If your utility bills spike every December, you aren’t dealing with a mystery; you are dealing with an inefficient thermal envelope.
Conducting a home energy audit allows you to identify exactly where your money is leaking out of your house. While professional auditors use infrared cameras and blower-door tests, you can perform a highly effective DIY audit with a few basic tools and a weekend of effort. By systematically addressing air leaks, insulation gaps, and appliance inefficiencies, you can realistically slash your winter utility costs by 20% or more. This guide provides the technical roadmap to secure your home and keep your cash in your bank account.

The Hidden Costs of Thermal Bridges
To save money, you must first understand how your home loses it. Heat moves from warm spaces to cold spaces. In the winter, the warm air you pay for tries to escape to the freezing outdoors through conduction and infiltration. Conduction occurs when heat travels through solid materials like glass or uninsulated wood. Infiltration happens when cold outside air enters through gaps in your home’s structure.
Think of your home as a bucket. If the bucket has dozens of tiny pinholes, it doesn’t matter how fast you pour water into it; the level will eventually drop. Most American homes have enough combined air leaks to equal a window left wide open year-round. An energy audit finds those pinholes so you can plug them. Data from Consumer Reports suggests that simple weatherproofing and thermostat adjustments provide some of the highest returns on investment of any home improvement project.
Hunting for Air Leaks with Precision
Air leaks are the primary culprit behind high heating bills. You can find these drafts using a few simple methods that require no expensive equipment. Start by checking the “obvious” spots, but do not stop there.
- The Visual Inspection: Walk around the exterior of your home. Look for gaps where different materials meet, such as where the siding meets the foundation or where the chimney meets the roofline. Inside, check for light shining through door frames or window sills.
- The Flashlight Test: Wait until dark. Have a partner stand outside and shine a high-lumen flashlight at window and door seams. If you see light bleeding through while standing inside, air is moving through that gap.
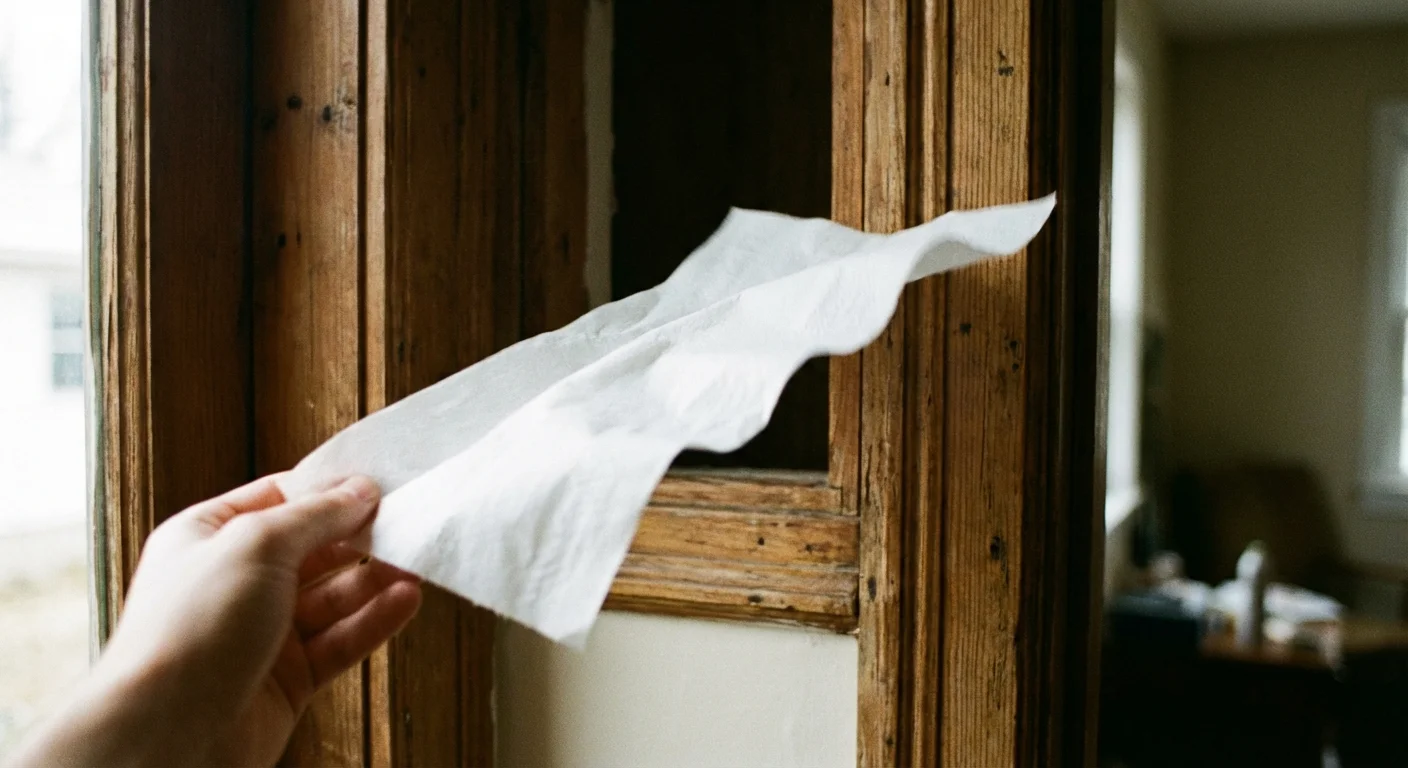
- The Incense or Tissue Paper Method: On a windy day, turn off your furnace and any ceiling fans. Light a stick of incense or hold a single ply of tissue paper near windows, electrical outlets, and baseboards. If the smoke or paper wavers, you’ve found a draft.
Common leak locations often include the “Big Three”: the attic hatch, the basement rim joists, and the gaps around plumbing stacks. These areas often lack proper sealing because they are tucked away in unfinished spaces, but they act like a chimney, pulling cold air in from the bottom of your house and pushing warm air out the top.
Optimizing Your Insulation Envelope
Even if your home is airtight, poor insulation will drain your wallet through conduction. Insulation is measured by R-value; the higher the R-value, the better the material resists heat flow. Most older homes are significantly under-insulated by modern standards.
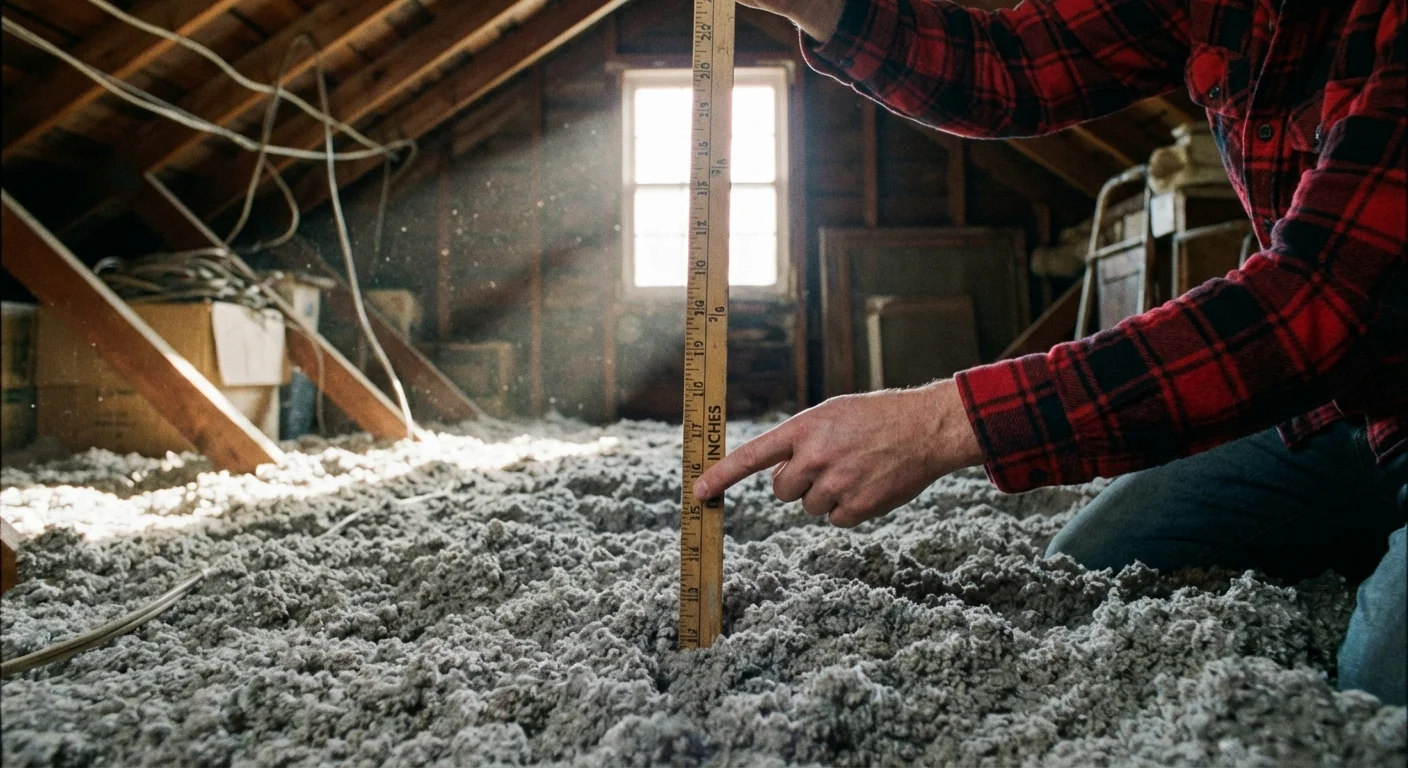
Head into your attic with a yardstick. If you see the floor joists, you almost certainly need more insulation. For most of the United States, the Department of Energy recommends an attic R-value between R-38 and R-60. If you have fiberglass batts, this equates to roughly 12 to 19 inches of material. If you find only a few inches of old, settled insulation, you are paying a “thermal tax” every single month.
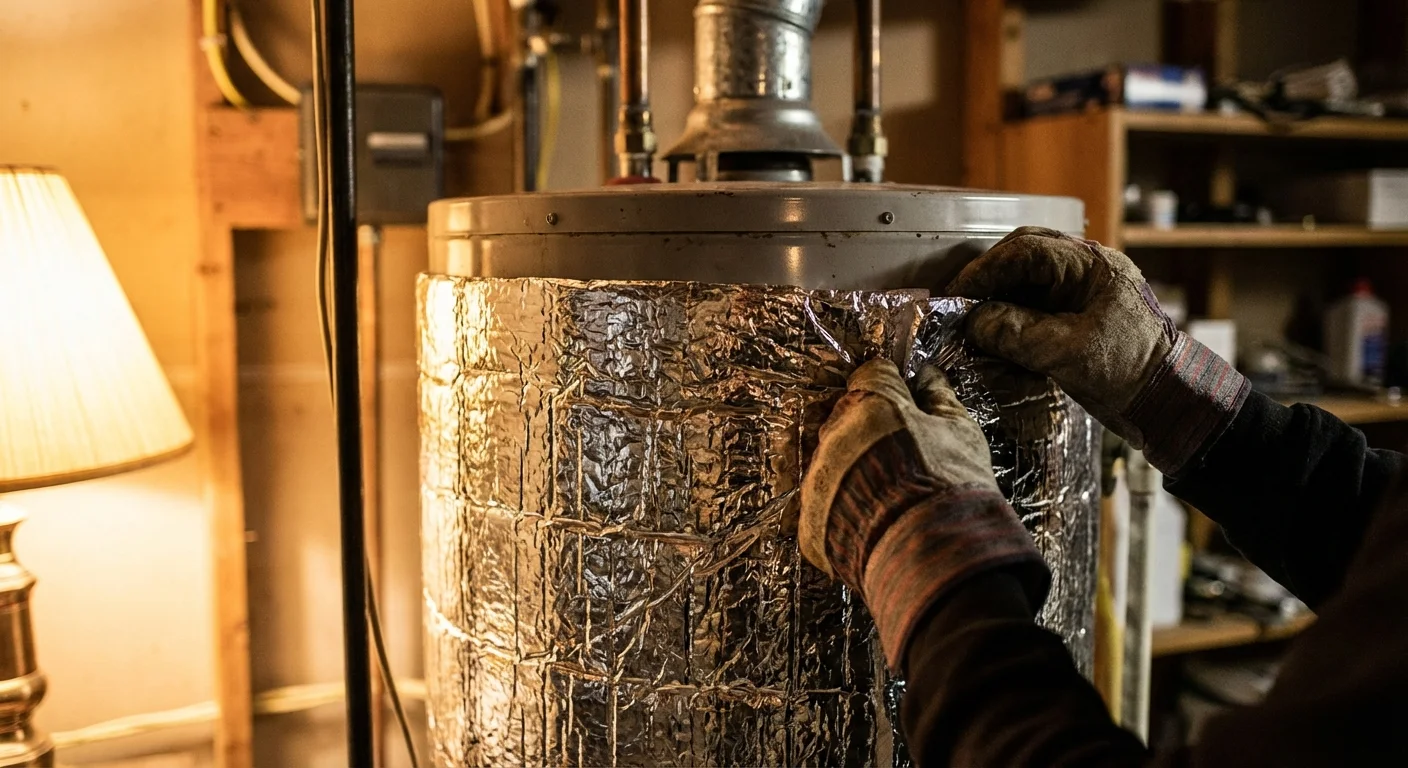
Do not forget the “forgotten” zones. Crawl spaces and unheated basements require insulation on the underside of the floor above them. If your water heater is located in a cold garage, consider an insulation blanket. These simple wraps cost less than $30 and can reduce standby heat loss by 25% to 45%.
“It’s not how much money you make, but how much money you keep, how hard it works for you, and how many generations you keep it for.” — Robert Kiyosaki, Author and Investor
The Hierarchy of Energy Savings
Not all energy-saving measures are created equal. Some require a significant upfront investment with a long payback period, while others pay for themselves in a single season. Use the table below to prioritize your winter energy audit tasks based on typical costs and savings potential.
| Action Item | Estimated Cost | Ease of Implementation | Potential Annual Savings |
|---|---|---|---|
| Caulking & Weatherstripping | $20 – $50 | Easy (DIY) | 5% – 10% |
| Installing a Smart Thermostat | $100 – $250 | Moderate | 8% – 12% on heating |
| Adding Attic Insulation | $500 – $1,500 | Moderate/Hard | 15% – 20% |
| Sealing Ductwork | $30 – $100 | Moderate (DIY) | 10% – 20% |
| Water Heater Temperature Adjustment | $0 | Very Easy | 3% – 5% |
Mechanical Efficiency: Tuning Your HVAC System
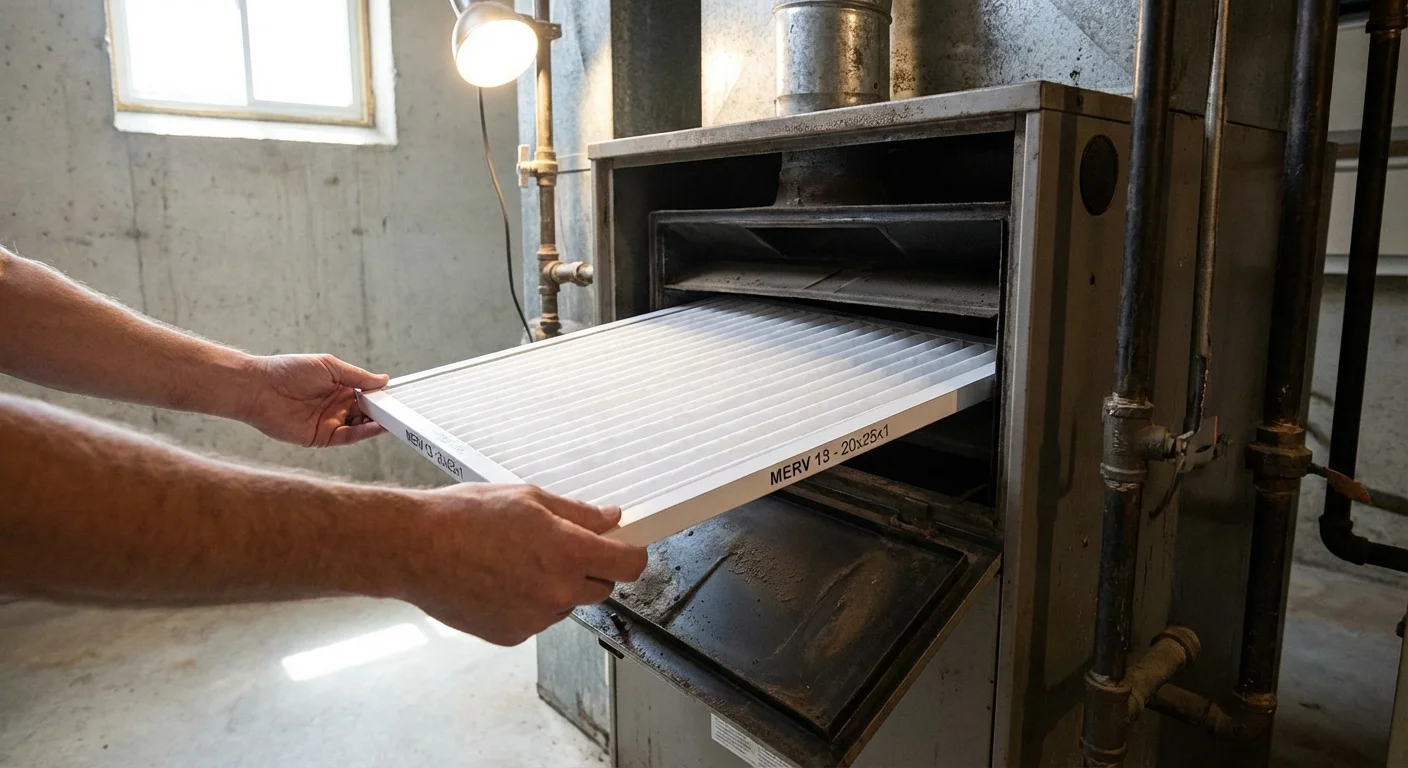
Your heating system is the heart of your home’s winter comfort, and if it’s struggling, it’s consuming excess electricity or gas. A DIY energy audit must include a mechanical check-up. First, replace your furnace filter. A clogged filter restricts airflow, forcing the motor to work harder and run longer. This is the single most important maintenance task for any homeowner.
Next, inspect your ductwork. If you have an unfinished basement or crawlspace, look for silver tape or mastic at the joints of your metal ducts. According to Energy Star, the typical home loses 20% to 30% of the air that moves through the duct system due to leaks and poorly connected ducts. Seal these with “mastic sealant” or foil-backed tape; avoid standard “duct tape,” which ironically dries out and fails quickly when exposed to heat.
Finally, examine your thermostat settings. Many people keep their homes at a constant 72 degrees Fahrenheit. By turning your thermostat back 7 to 10 degrees for eight hours a day (while you are at work or sleeping), you can save up to 10% a year on heating and cooling. A smart thermostat automates this process, ensuring you never forget to turn the heat down when you leave the house.
Water Heating: The Second Largest Expense
Most people overlook the water heater during an energy audit, yet it is often the second largest energy consumer in the home. Check the temperature setting on your tank. Manufacturers often ship water heaters set to 140°F, which is higher than most households need and can cause scalding. Lowering the temperature to 120°F reduces your bills and slows mineral buildup in your tank.
If your water heater is more than 10 years old, it is likely far less efficient than modern models. While you may not need to replace it immediately, keep an eye on federal tax credits through the IRS for high-efficiency heat pump water heaters. These units can be up to three times more efficient than standard electric tanks, often paying for themselves through energy savings in just a few years.
Pitfalls to Watch For
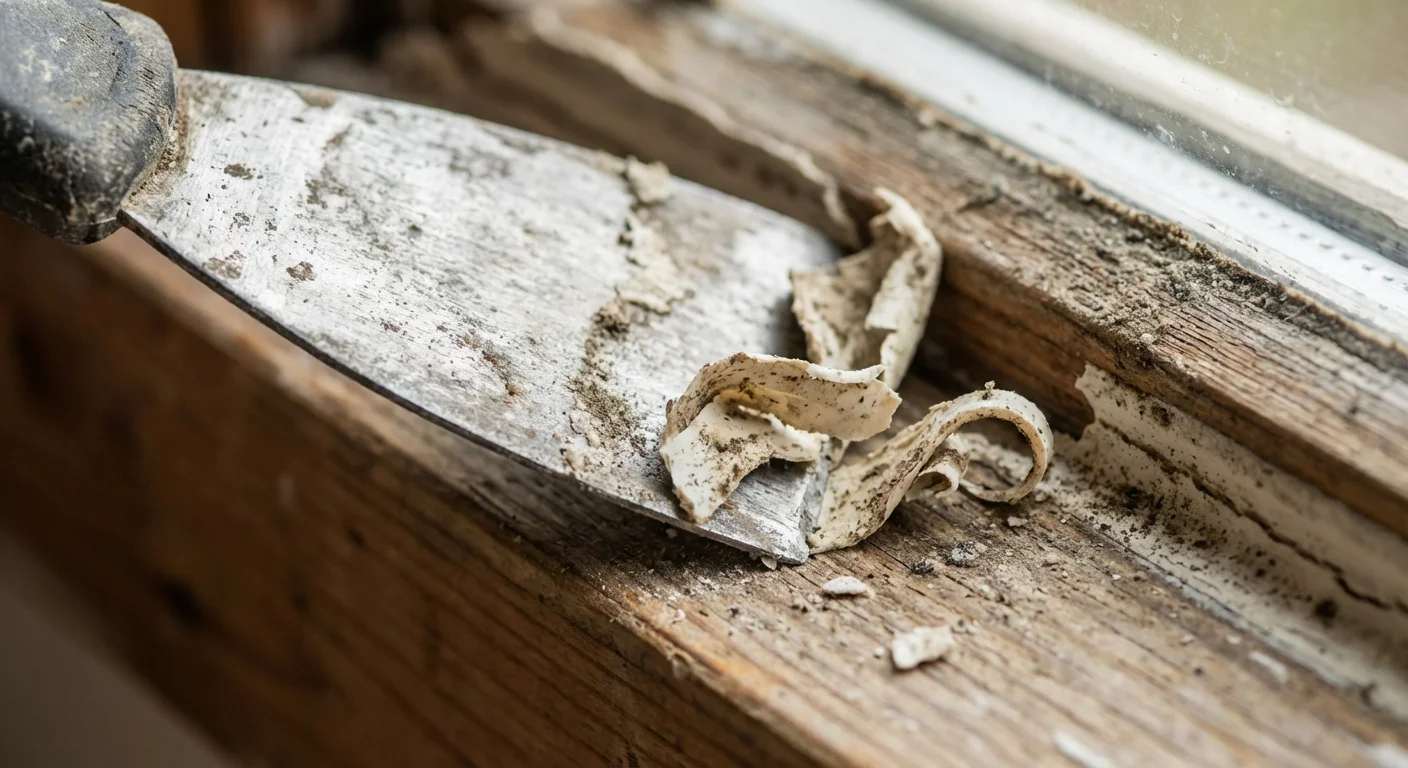
When you start sealing your home, you must be mindful of air quality and safety. A home can actually be “too tight.” If you seal every possible gap without considering ventilation, you can trap moisture, leading to mold, or allow combustion gases like carbon monoxide to build up.
- Backdrafting: If you have gas-fired appliances (like a water heater or furnace) that vent naturally up a chimney, they rely on a certain amount of “makeup air” to create a draft. If you seal the house too tightly, the exhaust might pull back into the living space. Always ensure you have functioning Carbon Monoxide detectors on every floor.
- Moisture Traps: Insulation should never block your soffit vents. These vents allow air to flow from the eaves through the attic and out the roof vents. Blocking them traps moisture against your roof deck, which can lead to wood rot and ice dams in the winter.
- Over-Sealing Windows: While plastic window kits are great for efficiency, ensure you aren’t sealing off your only means of egress in an emergency. Always keep at least one window in every bedroom operable.

Getting Expert Help
While a DIY audit catches the low-hanging fruit, there are times when you should hire a professional. Consider an expert audit in the following scenarios:
- You suspect a major hidden leak: If your bills remain astronomical despite your sealing efforts, a professional with an infrared camera can “see” through walls to find missing insulation or major air bypasses.
- You want to qualify for specific rebates: Many utility companies and state programs require a professional audit performed by a BPI-certified (Building Performance Institute) technician before they will issue large rebates for insulation or HVAC upgrades.
- Safety concerns: If you have an older home with vermiculite insulation (which may contain asbestos) or aging gas appliances, a professional can perform “combustion safety testing” to ensure your home remains safe after it is sealed.
Check with your local utility provider first. Many companies offer free or heavily subsidized energy audits to their customers as part of their conservation mandates.
Frequently Asked Questions
Do window films actually work?
Yes. Inexpensive plastic shrink-wrap kits create an extra layer of still air, which acts as an insulator. This is particularly effective for single-pane windows, essentially turning them into double-pane windows for the duration of the winter.
Is it cheaper to leave the heat at one temperature?
No. This is a common myth. It takes less energy to warm up a cool house than it does to maintain a high temperature against the constant pressure of the cold outdoors. The greater the difference between the indoor and outdoor temperature, the faster your home loses heat.
Should I replace my windows to save money?
Rarely as a first step. New windows are incredibly expensive and can have a “payback period” of 20 to 30 years. You will almost always get a better return on your investment by sealing drafts and adding attic insulation before considering window replacement.
Taking Action This Weekend
You do not need to tackle every item on this list at once. Start with the “free” wins: lower your water heater temperature to 120°F and program your thermostat. Next, spend $40 on a few tubes of high-quality caulk and some weatherstripping. Focus on the doors and windows you use most often. By spending just a few hours sealing the most obvious leaks, you will feel an immediate difference in the comfort of your home and see a measurable difference in your next utility bill.
Financial security isn’t just about earning more; it’s about plugging the leaks in your budget. Your home’s energy efficiency is a controllable variable in your monthly expenses. Take control of your thermal envelope today, and stop letting your hard-earned money vanish into the winter air.
This article provides general financial education and information only. Everyone’s financial situation is unique—what works for others may not work for you. For personalized advice, consider consulting a qualified financial professional such as a CFP or CPA.
Last updated: February 2026. Financial regulations and rates change frequently—verify current details with official sources.









Leave a Reply