
You finally found it: the three-bedroom ranch with the sun-drenched kitchen and the fenced-in backyard you have been dreaming about for months. The price fits your budget, the neighborhood seems quiet, and you can already imagine where your sofa will go. In the rush of excitement that follows an accepted offer, it is easy to view the home through rose-colored glasses. However, this is the exact moment you must pivot from “emotional buyer” to “rigorous investigator.”
A home inspection serves as your ultimate insurance policy against the “money pit” scenario. While a house might look pristine on the surface, its underlying skeletal, mechanical, and electrical systems could hide five-figure disasters. According to data from the National Association of Realtors, home inspections remain one of the most critical contingencies in a real estate contract; they provide you the leverage to ask for repairs, negotiate a lower price, or walk away entirely if the issues are too severe. As a first-time buyer, you do not need to be a structural engineer to spot red flags, but you do need to know where to point your flashlight.
The Essential Exterior Investigation
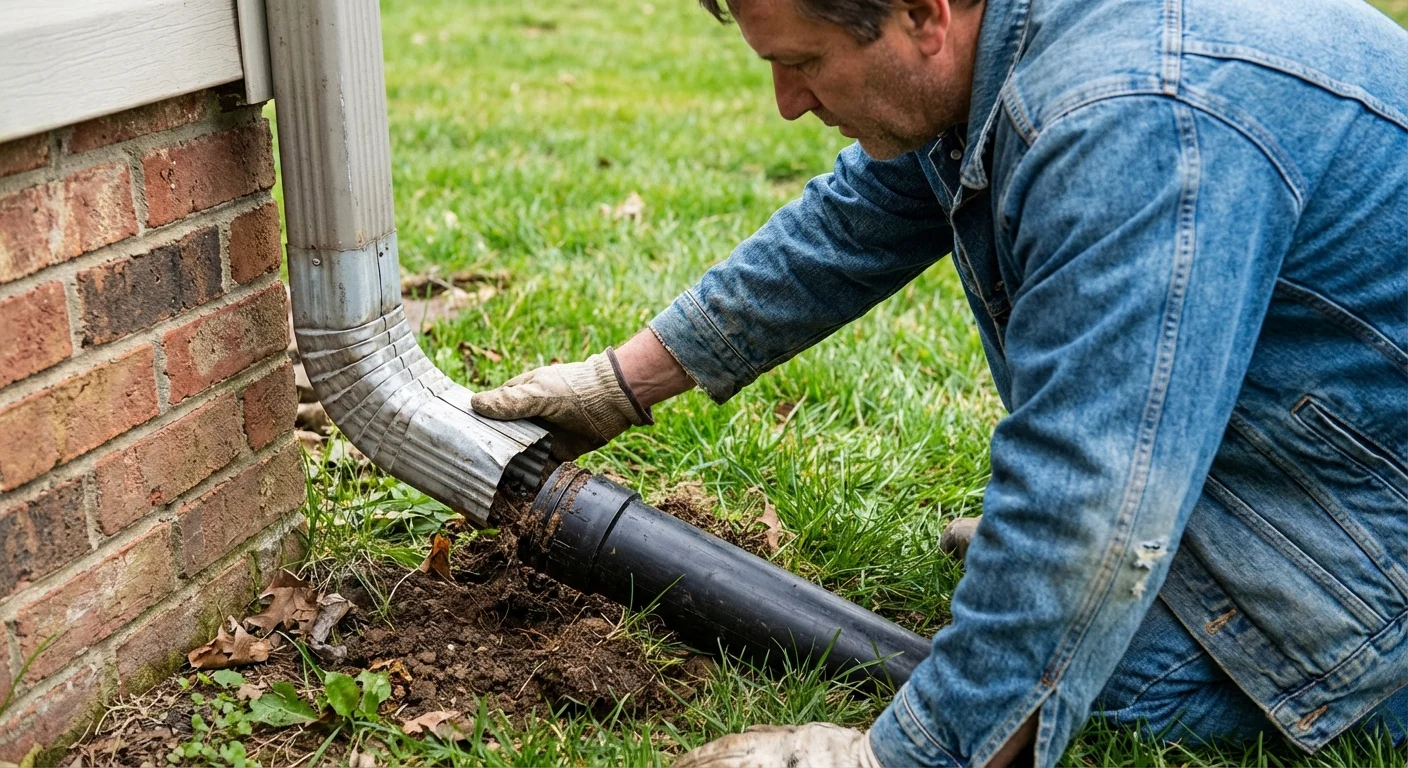
The exterior of the home acts as the first line of defense against the elements. If the “envelope” of the building fails, water and pests will eventually destroy the interior. Start your walk-around by looking at the grading of the land. The ground should always slope away from the foundation at a rate of at least six inches over the first ten feet. If you notice the yard sloping toward the house, or see standing water near the walls, you are looking at a high risk for basement flooding and foundation erosion.
Next, turn your eyes upward to the roof. Most asphalt shingle roofs last between 20 and 25 years. Look for shingles that are curling at the edges, “balding” (losing their sandy granules), or missing entirely. If the roof looks uneven or sags in certain spots, it could indicate structural damage to the rafters or deep-seated water rot. Replacing a roof is a significant capital expenditure—often costing between $8,000 and $15,000 for a standard single-family home—so the age of the roof should weigh heavily on your offer price.
Pay close attention to the gutters and downspouts. They should be clear of debris and firmly attached to the house. More importantly, ensure the downspout extensions carry water at least five feet away from the foundation. Clogged or short downspouts are the leading cause of cracked foundations and moldy crawlspaces in American homes. While you are outside, inspect the siding or brickwork. Look for cracks wider than a quarter-inch, which often suggest the house is settling unevenly. Small “hairline” cracks are common in older homes, but large, horizontal, or stair-step cracks in masonry demand a professional structural engineer’s opinion.
Checking the Vital Mechanical Systems
The “guts” of the house—the HVAC, plumbing, and electrical systems—are what make a home livable. These systems are often tucked away in dark corners, but they require the most scrutiny. Start with the electrical panel. Open the door and look for a neat arrangement of wires. If you see “double-tapping” (where two wires enter a single breaker) or charred marks on the metal, the system is likely overloaded. In older homes, watch out for outdated knob-and-tube wiring or aluminum wiring, both of which can be difficult or expensive to insure.
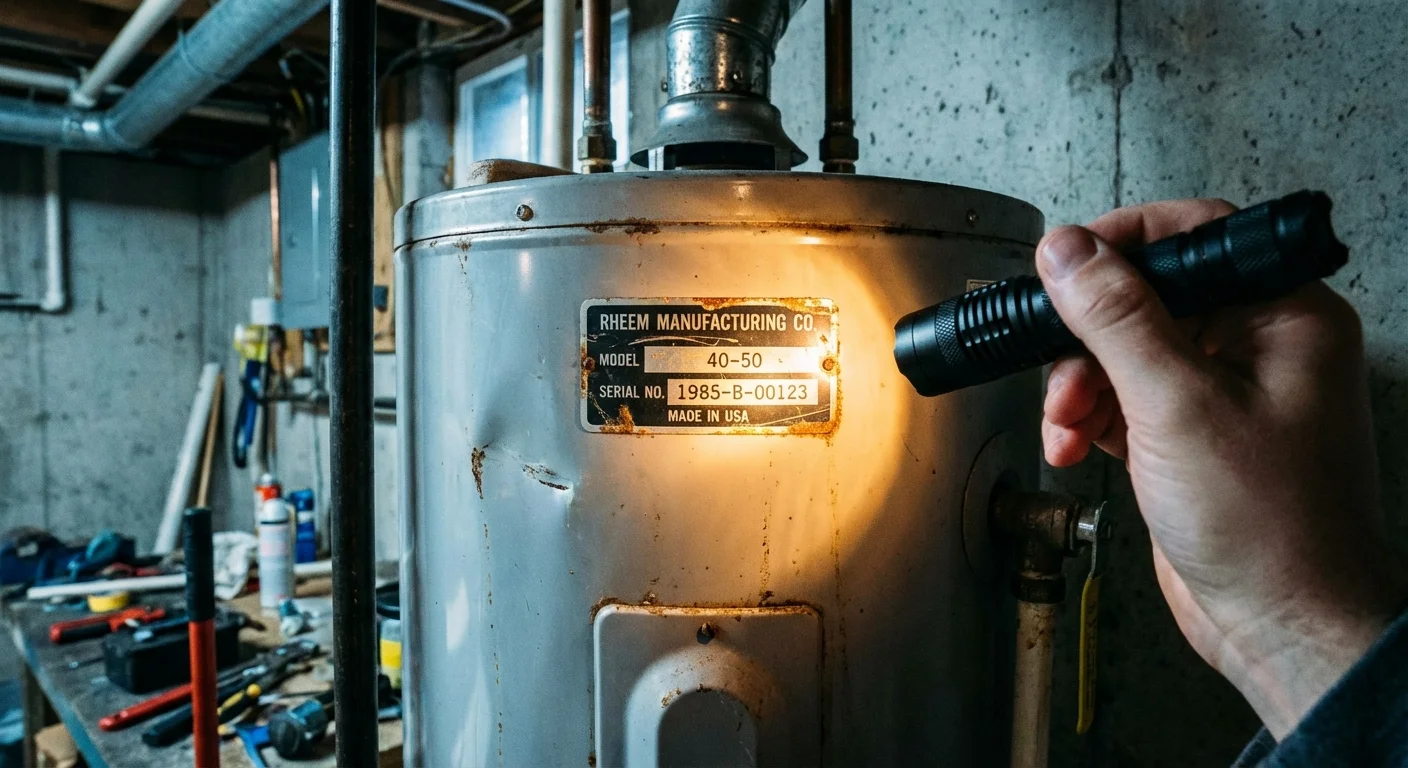
When inspecting the plumbing, start by turning on every faucet in the house simultaneously to check the water pressure. If the flow drops to a trickle, the home may have galvanized steel pipes that have narrowed due to mineral buildup over decades. Check under every sink with a high-powered flashlight for dampness, water stains, or the smell of mildew. The water heater is another ticking clock; look for the manufacture date on the tank’s label. If the heater is more than 10 to 12 years old, expect to replace it soon at a cost of $1,200 to $2,500.
The Heating, Ventilation, and Air Conditioning (HVAC) system is one of the most expensive components to replace. Ask the seller for service records to see if the unit has been maintained annually. When you are at the property, turn the thermostat to “heat” and then “cool” to ensure the system responds quickly. Listen for grinding, banging, or squealing noises, which indicate failing motors or blowers. A modern furnace and AC split system can cost $6,000 to $10,000 to replace, so knowing the remaining lifespan of these units is vital for your long-term budget.
“A big house is a big responsibility. Don’t buy a house that’s going to own you. You want a house that you own, and that starts with a thorough inspection to ensure you aren’t walking into a financial nightmare.” — Dave Ramsey, Personal Finance Author and Host
Internal Red Flags: Walls, Floors, and Ceilings
Inside the home, you are looking for signs of movement and moisture. Walk across the floors to feel for “spongy” spots or significant slopes. While some settling is natural, a floor that feels bouncy could mean the joists underneath are rotting or undersized. Check the ceilings for brown, circular stains. These are tell-tale signs of a past or current leak from a bathroom or the roof. Even if the seller claims the leak was “fixed,” you need to know if the underlying drywall or insulation was replaced or if they simply painted over the problem.
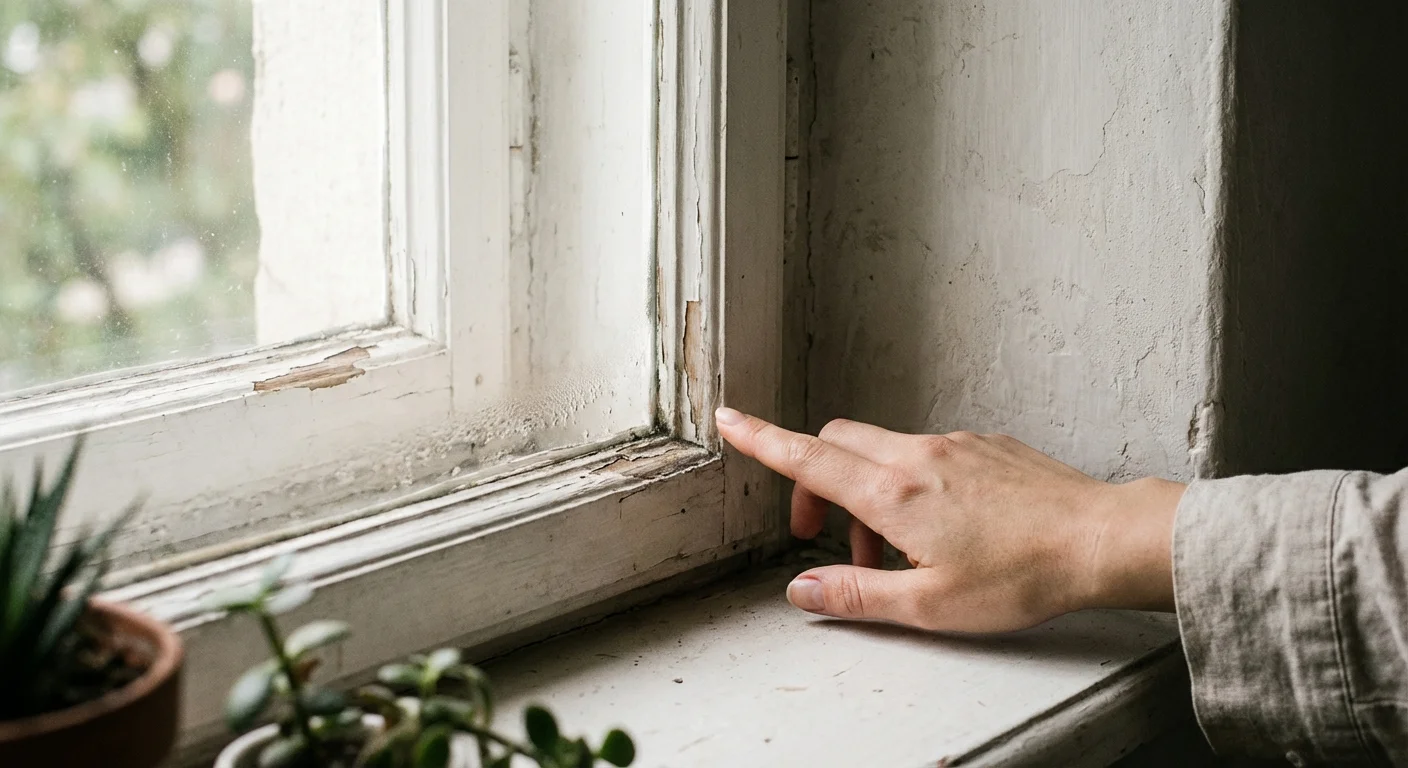
Open and close every window in the house. This may seem tedious, but it is a critical step. If a window is painted shut or refuses to stay open, it is a safety hazard—especially in bedrooms where windows serve as emergency exits. If you notice fogging or condensation between the panes of double-glazed windows, the vacuum seal has failed. This ruins the window’s insulating properties and usually requires a full window replacement to rectify.
In the kitchen and bathrooms, test the exhaust fans. Proper ventilation is the only way to prevent steam from damaging your walls and creating a breeding ground for mold. If the bathroom fan simply vents into the attic rather than to the outside, you will eventually face a massive remediation bill when the attic rafters begin to rot. Check the Consumer Financial Protection Bureau (CFPB) website for more resources on the financial implications of home repairs during the mortgage process.
Professional vs. Self-Guided Inspections
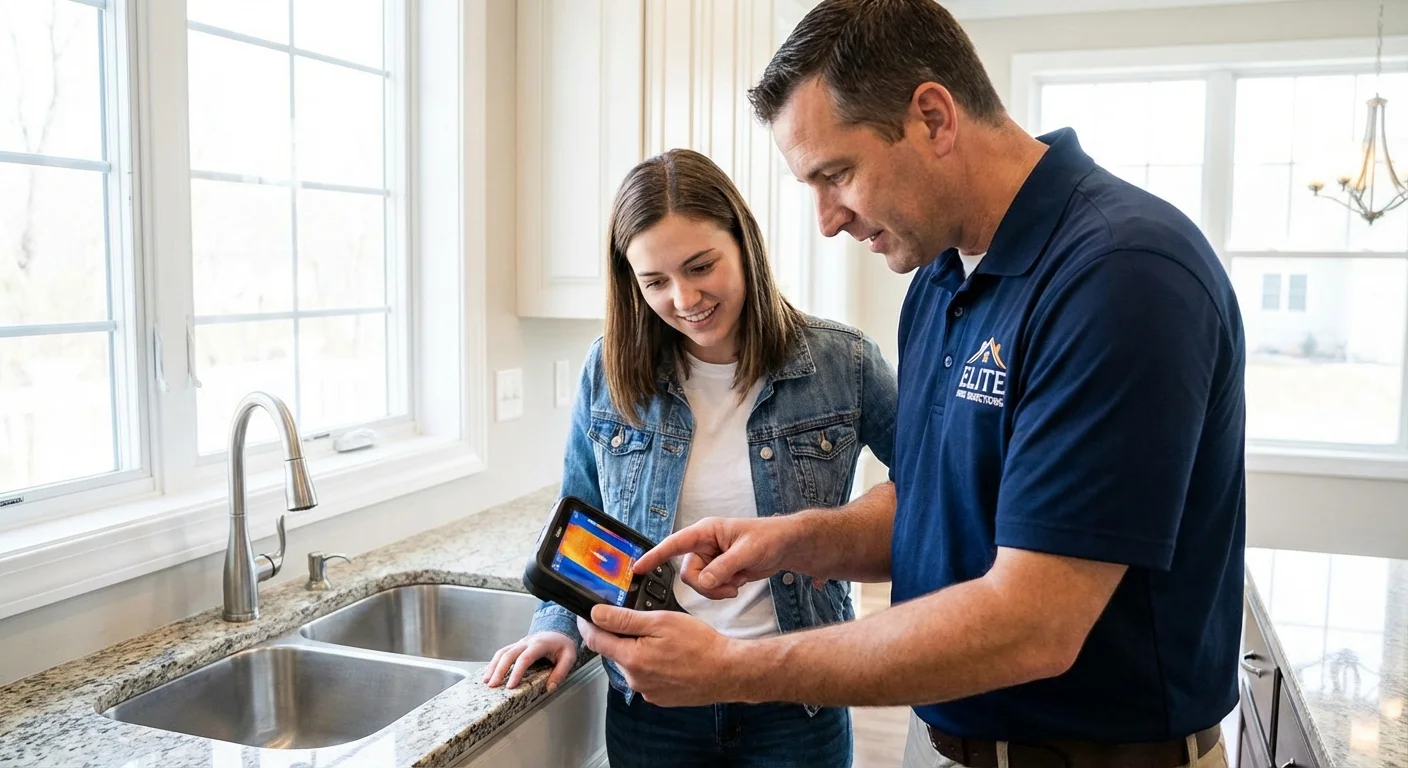
While you should absolutely perform your own walkthrough using a home inspection checklist, you must never use your personal observations as a substitute for a licensed professional. An inspector has the tools—moisture meters, infrared cameras, and gas sniffers—to see what you cannot. However, knowing when to call in a specialist is just as important as the general inspection itself.
| Scenario | Who to Call | Estimated Cost |
|---|---|---|
| Large cracks in the foundation or sagging floors | Structural Engineer | $500 – $800 |
| Old home with large trees near the sewer line | Sewer Scope Specialist | $150 – $300 |
| Strong musty odors or visible black spotting | Mold Remediation Expert | $300 – $600 (Testing) |
| Home built before 1978 with peeling paint | Lead Paint Inspector | $250 – $500 |
As you navigate this process, remember that most standard inspections do not cover specialized issues like radon gas, wood-destroying organisms (termites), or underground oil tanks. If the home has a basement or is located in a high-radon area, spending an extra $150 for a radon test is a non-negotiable health investment. Radon is an odorless, invisible gas that is the second leading cause of lung cancer in the United States. You can find more information on environmental hazards through the Department of Housing and Urban Development (HUD).
Common Mistakes to Avoid During Inspection
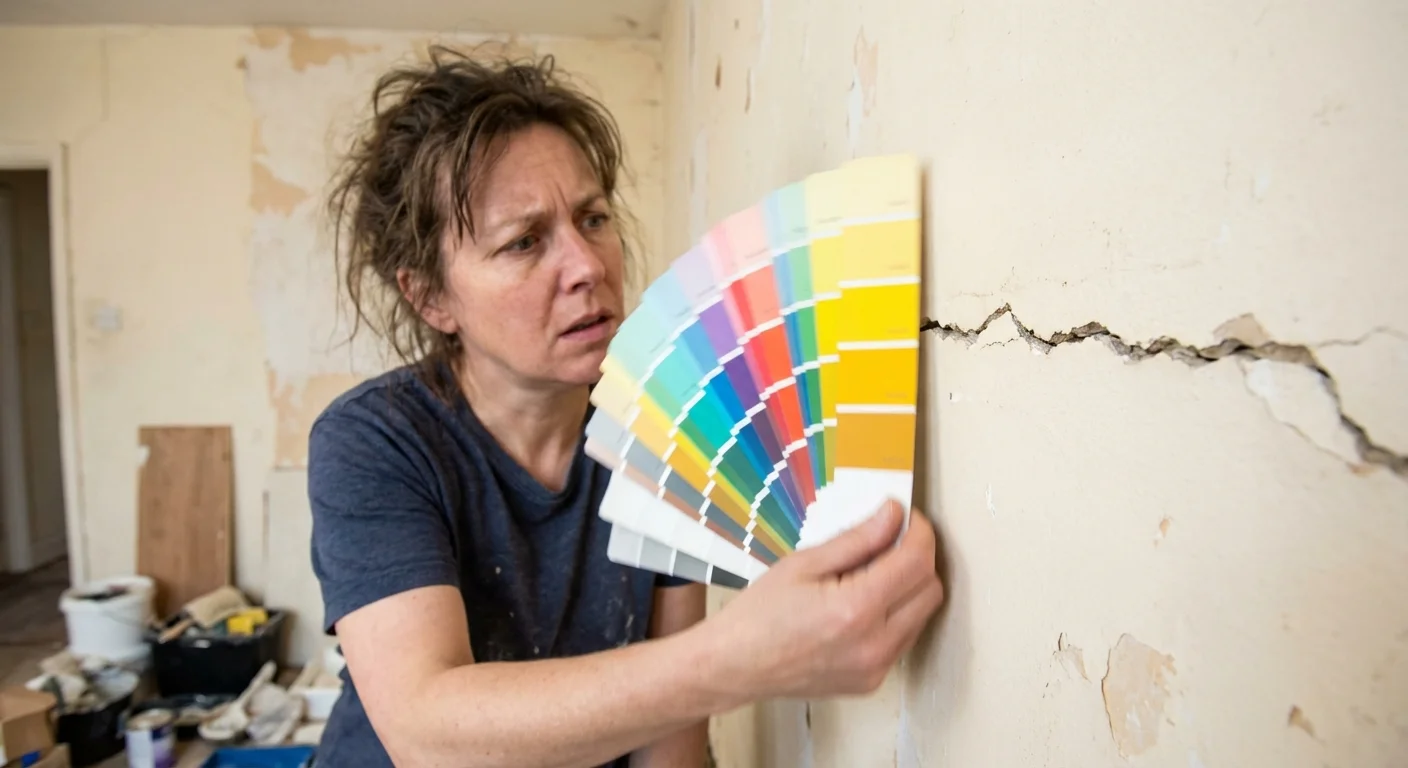
The biggest mistake first-time buyers make is not attending the inspection in person. While the written report is valuable, walking through the home with the inspector allows you to see the severity of issues firsthand. An inspector might note “minor moisture in the crawlspace” in a report, which sounds scary, but in person, they can show you that it is a simple fix involving a $20 downspout extension.
Another common error is failing to test the “ancillary” items. Check the garage door sensors, the dishwasher’s full cycle, and the garbage disposal. These are smaller items, but replacing three or four “small” appliances in your first month of homeownership can easily drain $2,000 from your emergency fund. Furthermore, do not let a “clean” looking house fool you. Sellers often use fresh paint and staging to mask significant issues. Always look behind furniture and under rugs where possible, as these are common hiding spots for floor damage or wall cracks.
Finally, avoid the trap of expecting a “perfect” report. Every home, even brand-new construction, will have a list of deficiencies. Your goal is not to find a house with zero problems, but to find a house with problems you can afford to fix. Distinguish between “cosmetic” issues (ugly wallpaper, scratched floors) and “structural/safety” issues (failing roof, recalled electrical panels). Use the latter for negotiations and ignore the former until after you move in.
The First-Time Buyer’s Home Inspection Checklist
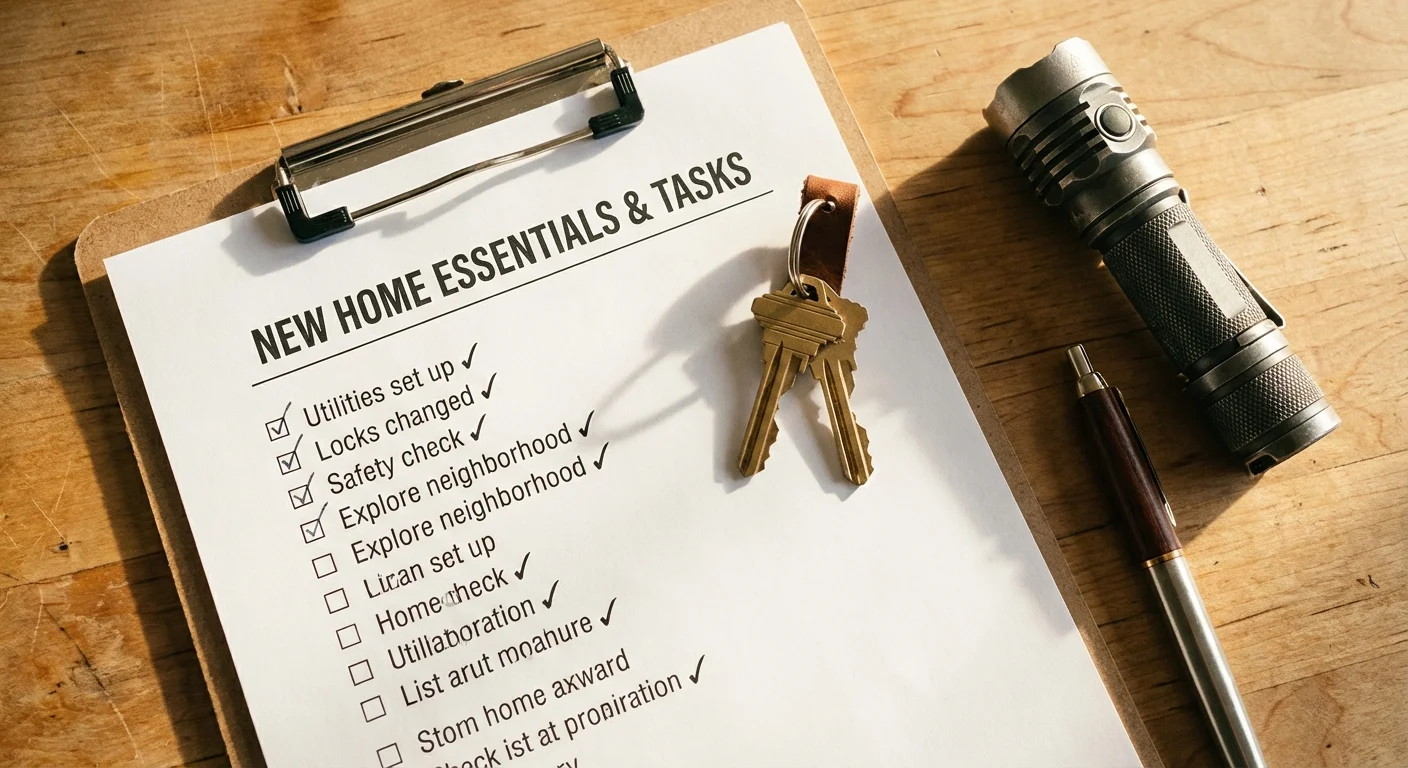
- Foundation: Check for horizontal cracks, bulging walls, and standing water in the crawlspace.
- Roof: Evaluate the age of shingles, look for moss growth, and inspect the integrity of the chimney flashing.
- Attic: Look for sufficient insulation, signs of roof leaks on the underside of the sheathing, and evidence of rodents.
- Electrical: Ensure the panel is labeled, check for GFCI outlets in kitchens and baths, and verify no “DIY” exposed wiring exists.
- Plumbing: Inspect the age of the water heater, check for pex vs. copper vs. galvanized pipes, and test all drains for speed.
- HVAC: Verify the age of the furnace/AC and check for clean air filters and rust on the heat exchanger.
- Exterior: Check that the siding is not touching the soil and ensure all wood trim is painted and rot-free.
- Windows/Doors: Confirm all locks function and that the seals on insulated glass are intact.
If you find significant issues, you have three main paths: ask the seller to fix the items before closing, ask for a “repair credit” where the seller reduces the price so you can hire your own contractors, or walk away. In a “buyer’s market,” sellers are often willing to make repairs. In a competitive “seller’s market,” you might have to take the house as-is, which means you must have the cash reserves ready to tackle the most urgent fixes immediately after closing.
Frequently Asked Questions
How much does a professional home inspection cost?
On average, a general home inspection costs between $300 and $500 for a standard-sized home. Prices vary based on the square footage, the age of the home, and your geographic location. Specialized tests like radon, sewer scopes, or mold will add to this total.
Can a house “fail” a home inspection?
No, a house does not pass or fail. An inspection is simply a professional assessment of the current condition. It is up to you and your lender to decide if the condition of the home is acceptable for the purchase price and the loan requirements.
Should I buy a home that needs a new roof?
You can, provided the price reflects the cost of replacement. If a new roof costs $12,000 and the home is priced as if the roof is new, you should negotiate. However, some lenders—especially for FHA or VA loans—may require a functioning roof before they will fund the mortgage.
What if the inspector misses something?
Most inspection contracts include a “limitation of liability” clause, often capping their responsibility at the cost of the inspection fee. This is why it is vital to hire a highly rated, experienced inspector and to be present during the walkthrough to ask clarifying questions.
Moving Toward Your Closing Date
Buying your first home is likely the largest financial commitment you will ever make. The home inspection is the most powerful tool you have to protect your savings and your future peace of mind. By following a structured home inspection checklist and looking past the staging, you can identify “home buying red flags” before they become your financial burden. Take your time, ask the “dumb” questions, and remember that “what to check before buying a house” is a list that grows with your knowledge of the property.
Once you receive the final report, review it with your real estate agent to prioritize the repairs. Focus on safety first—electrical hazards, gas leaks, and structural instability—before moving to functional items like a leaky faucet or a broken dishwasher. Armed with data and a clear understanding of the home’s condition, you can move toward the closing table with the confidence that your new house truly is the “dream home” you hoped it would be.
This is educational content based on general financial principles. Individual results vary based on your situation. Always verify current tax laws, investment rules, and benefit eligibility with official sources.
Last updated: February 2026. Financial regulations and rates change frequently—verify current details with official sources.







Leave a Reply